Route Map
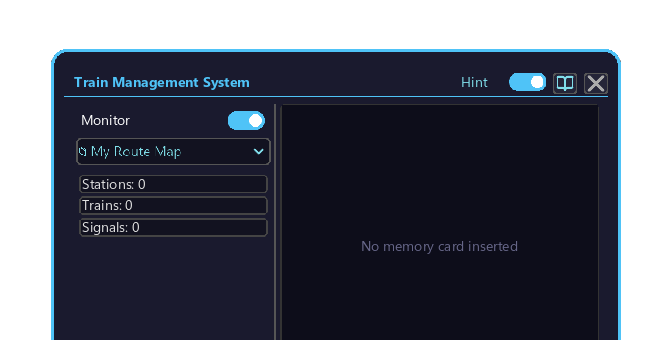
The Route Map tab of the Management Computer. Displays all stations and tracks as a 2D map.
How to open
- Place the Management Computer block and right-click it to open the screen.
- Click the top-left dropdown and choose "📁 My Route Map" (this tab is open by default right after launch).
- The map is shown once you have linked the track network in advance with a Memory Card.
Map elements
| Element | Rendering |
|---|---|
| Station node | Circle + station name |
| Track edge | Line connecting stations |
| Train position | Real-time small icon |
| Signal | State (red / green) |
Controls
The map is operated by panning / zooming / clicking icons.
| Action | How | Behavior |
|---|---|---|
| Pan (move) | Hold the left mouse button and drag over the map | Move the view up / down / left / right |
| Zoom | Turn the mouse wheel over the map | Up zooms in, down zooms out |
| Select a train | Left-click a train icon | Opens that train's detail popup (overlaid on the map, where you can check speed, destination, schedule, etc.) |
| Select a station | Left-click a station icon | Switches to the Stations Tab and opens that station's details (line symbol assignment, etc.) |
Line symbol rendering
Station nodes display their line symbol (when assigned). Reassigning in the Stations Tab reflects on the map immediately.