Transit Terminal

A held item that searches and displays transfer routes between stations. Using the management computer's route data, it shows the route, travel time, and times from departure → arrival station on a screen like a "smartphone transit app."
Opening / holding
- Put the Transit Terminal on your hotbar and hold it (it is a held item, not a block you place).
- Right-click on the spot (the item-use button; by default the right mouse button).
- A tall smartphone-style panel slides up from the bottom of the screen, at the lower right. This is the transit guidance screen.
- To close it, press the Esc key (the panel slides down and disappears).
Screen controls (basics)
- Switching tabs: Left-click one of the 4 icons lined up at the bottom of the panel (🔍 Search / 🕒 Schedule / 🗺 Map / ⚙ Settings) to switch to that tab.
- Selecting an input field: Left-click the departure / arrival station field to make it the input target, then type the station name with the keyboard. As you type, candidates (autocomplete) appear below, and left-clicking a candidate confirms it.
- Values / toggles: Each left-click on a switch row in the Settings tab toggles it ON / OFF.
Four-tab layout
Search (TOP) 🔍
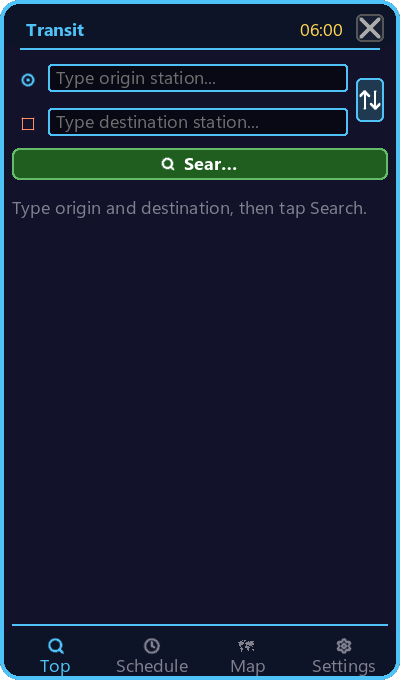
The main tab, where you enter a departure station (●) and arrival station (■) to search for a route.
- Left-click the departure station field at the top and type the station name with the keyboard (when a candidate appears, left-click to confirm).
- Enter the arrival station field below in the same way.
- Left-click the swap button (⇅) on the right to swap the departure and arrival stations.
- Once both stations are set, the "Search" button turns green. Left-click it to show the routes below.
- When multiple routes are found, 1 / 2 / 3 (or Fast / Easy / Cheap) candidate tabs appear at the top. Left-click to select a candidate.
- Left-click a route tile to switch to a detail (timeline) view listing each station's departure/arrival times, track, and train name. In the detail view, the top-left "←" goes back, the top-right 🧭 (start navigation) shows the route-guidance HUD, and 🪟 toggles the detail HUD on / off.
- Before a search, past search history is listed; left-click each row's ✕ to delete one entry, or use the top-right bulk delete to clear all.
Schedule (SCHEDULE) 🕒
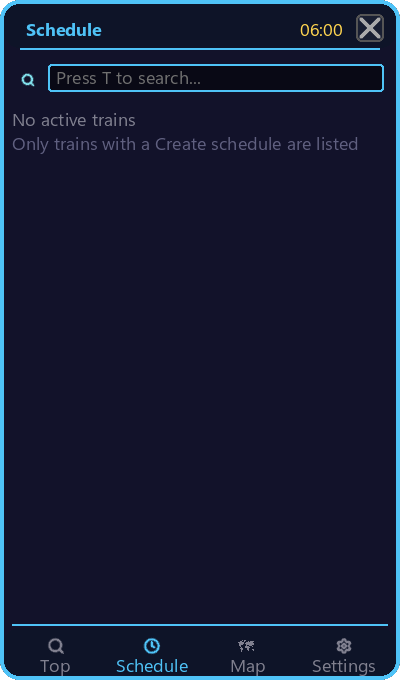
A list of every train's schedule. Left-click the search field at the top and type a station name to filter by the trains related to that station.
Map (MAP) 🗺
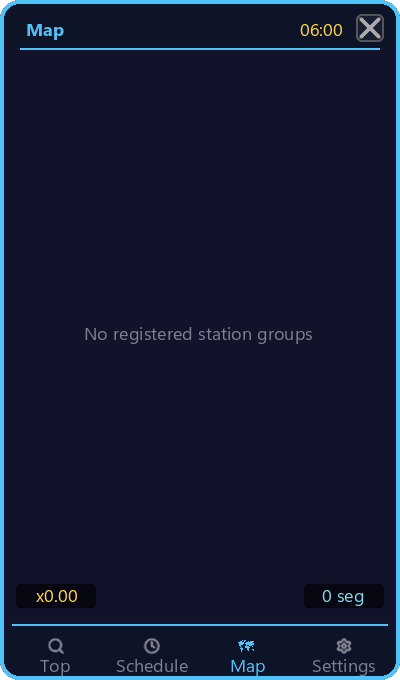
A 2D map of the entire rail network. You can drag to move (pan) and use the mouse wheel to zoom.
Settings (SETTINGS) ⚙
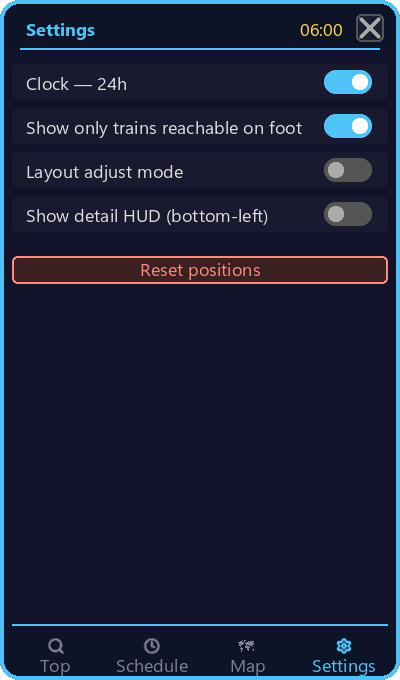
Each left-click on a row toggles the switch on the right ON / OFF.
| Setting | Description |
|---|---|
| 24-hour clock | Toggle times between 24h / 12h notation |
| Walk-reachable gate | Whether to include walking segments to a nearby station in the route |
| Layout adjust mode | While ON, drag the panel header to move its display position |
| Detail HUD display | Whether to show the route-detail HUD on screen |
Left-clicking the "Reset layout" button at the very bottom returns the moved panel and HUD positions to their initial state.
Features
| Feature | Summary |
|---|---|
| Route search | Suggests a route given a departure + arrival station |
| Schedule display | List of next-train arrival / departure times |
| Line symbol display | Line symbols for each station on the route |
Integration with the Management Computer
The terminal auto-links with the management computer (= those in the same station group). Updates to the schedule / station info on the management computer are reflected immediately.