Wire & Wire Connector Tool

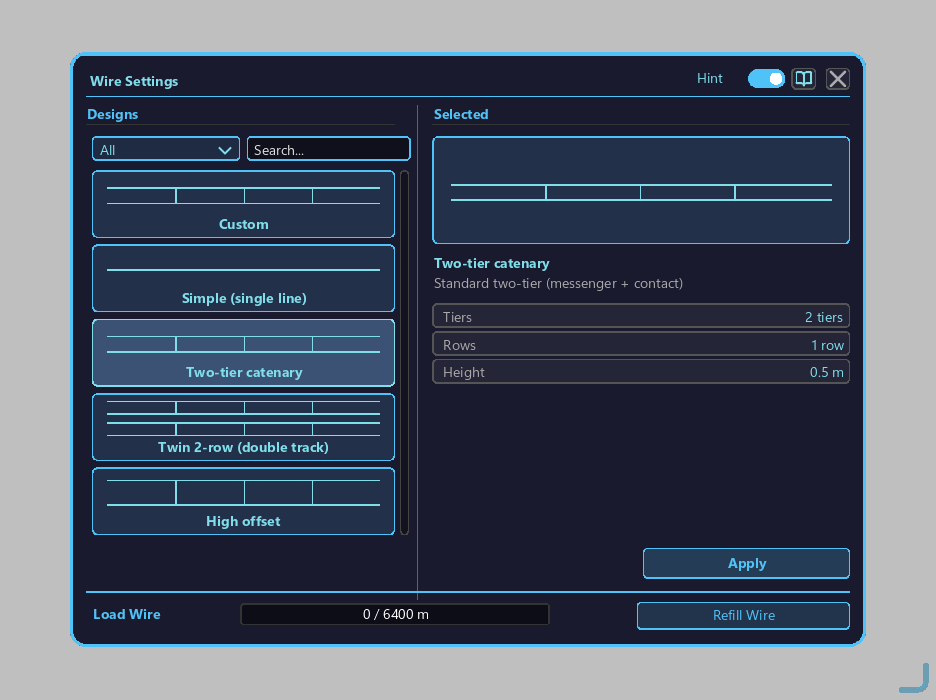
A dedicated tool for stringing Wire between two points. Supports 5 built-in designs + saving arbitrary custom presets.
The two modes of this tool
By holding the Alt key and scrolling the mouse wheel, the Wire Connector Tool switches between two modes (while held, the current mode is shown above the hotbar).
| Mode | Hotbar label | What the mode does |
|---|---|---|
| Placement (insulator connect) | Placement Mode | Right-click insulators to string wire (see "How to string wire" below) |
| GUI (design selection) | GUI Mode | Right-click to open the wire settings screen and edit design or remaining amount |
How to string wire (placement mode)
- First place two Wire Insulators at the points you want to support (right-click to place on a floor, pole, truss side, etc.).
- Hold the Wire Connector Tool and switch to Placement (insulator connect) mode with Alt+wheel.
- Right-click the first insulator → "Connect from: X, Y, Z" is shown and the start point is recorded.
- Right-click the second insulator → wire is strung between the two points, and "Wire connected [design name]: ○○m" is shown.
- To redo: right-click the same insulator again, or Shift + right-click (in the air) to clear the start point.
Refilling wire (survival)
In survival, stringing wire consumes the tool's "wire remaining" by the distance strung (m). You can check the remaining amount in the tooltip and on the gauge at the top of the GUI mode screen.
- Prepare a Wire Spool (the
Wire Spoolitem; 1 provides 100 m). - Switch to GUI mode with Alt+wheel and right-click → open the wire settings screen.
- Put the spool into the "Wire Load" slot on the left of the screen and press the "Refill Wire" button to fill the tool's internal tank (max 6400 m).
How to open the settings screen (GUI mode)
- Switch to GUI (design selection) mode with Alt+wheel.
- Right-click the tool (on a block or in the air) → the wire settings screen opens.
- Select a design in the left panel.
- Verify / edit parameters in the right panel.
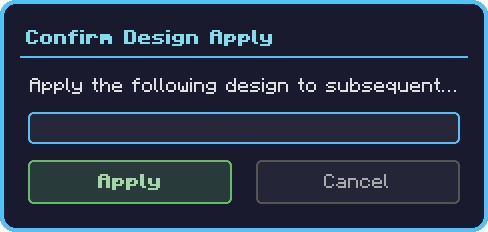
- Confirm the settings with "Apply" at the bottom of the screen (a confirmation dialog appears).
Built-in designs (5)
| Design | Use | Tiers | Rows |
|---|---|---|---|
| CUSTOM | Starting point for custom presets | Free | Free |
| SIMPLE | Thin single line, decorative | 1 tier | 1 row |
| TWO_TIER | Standard two-tier (catenary + trolley) | 2 tiers | 1 row |
| TWIN_2ROW | Two-tier in parallel for double track | 2 tiers | 2 rows |
| HIGH_OFFSET | Wide vertical spacing for large vehicles | 2 tiers (wide) | 1 row |
Search + Filter
Narrow the display with the filter dropdown at the top of the GUI:
- All: built-in + presets all shown
- Basic: built-in 5 only
- Custom: user-saved presets only
Type a name in the search box for instant filtering.
Sag mode (SIMPLE only)
The "Sag mode" toggle is only operable while the SIMPLE design is selected. When ON, the single line droops in the center for a decorative effect (= evokes old-era electrification).
Preset save
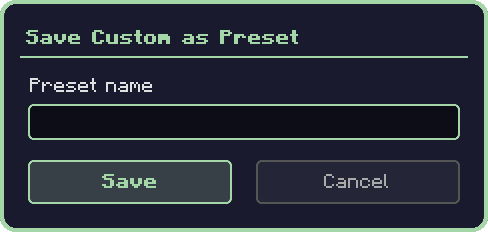
While editing CUSTOM, click "Save Preset" → enter a preset name in the dialog → Enter to save. After saving it is added to the tile list in the left panel and can be selected → applied right away.
Preset delete
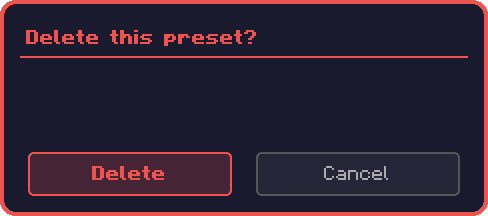
Right-click a tile → delete confirmation dialog.
Apply
The "Apply" button saves the current settings. Next, right-clicking two insulators in placement mode strings a new wire with that design. A confirmation dialog is shown before applying.
Related
- Wire Insulator — the support points at both ends of the wire (right-click these)
- Overhead Pole / Overhead Truss — bases that hold insulators up high
- Pantograph — the current collector that runs under the wire
- Substation Cubicle — the source that powers the wire
- FE Inverter — the train-side FE buffer
- Custom Wire Designs — CUSTOM detail parameters