Getting Started
The entry page for understanding, step by step, "which GUI manages what" and "what happens when I press F1" when you first pick up TrainSystem Utilities.
List of this MOD's GUIs
TSU's GUIs are broadly split into "ones you open by right-clicking a block" and "ones you use by holding an item". Operate as shown in the "How to open" column below to open that GUI.
Block GUIs (place, then right-click)
| GUI | How to open | Role |
|---|---|---|
| Management Computer | Place the block and right-click it | The hub for monitoring and configuring the whole network. Switch between the tab group below to use it |
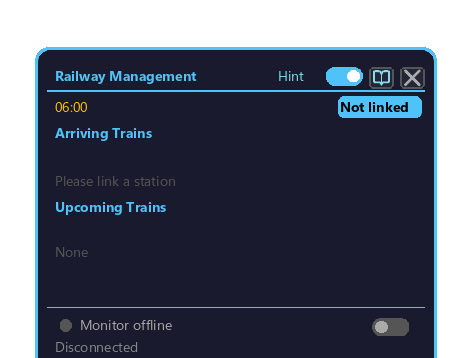
| Railway Management Block | Place on a station platform and right-click | Per-station display board (arriving / next train / station monitors) |
| Poster Management Block | Right-click the block | Slideshow display of PNG/JPG images |
| Ticket Machine | Right-click the block | Choose a destination and buy a ticket |
Management Computer tabs / sub-screens
Opened from the Management Computer via tab switching or buttons.
| Screen | How to open | Role |
|---|---|---|
| Route Map / Trains / Schedule / Stations / Ticket Machine / Line Symbols tabs | Switch with the top-left dropdown (monitor) or tabs | List / settings for each feature |
| Line Symbol Editor | Line Symbols tab → "+ New" / click an existing symbol | Edit a symbol's text / color / shape (built-in color picker) |
| Layout Editor | The "Layout" button at the bottom | Edit the arrangement of monitor display panels |
| Color Settings / Color Picker | The "Color" button at the bottom | Change the monitor's color scheme |
| Schedule Editor | Schedule tab → select a train and edit | Edit / export a Create schedule |
Item GUIs / tools (hold and use)
| Tool | How to open / operate | Role |
|---|---|---|
| Transit Terminal | Hold it and right-click | Guidance on routes, travel times, and times between stations |
| Station Range Tool | Hold it, switch mode with Alt+wheel, right-click to designate | Create station groups / link ticket machines and gates |
| Train Preset Tool | Hold it and right-click (settings) / place via mode switch | Save trains as JSON, place them, refill materials |
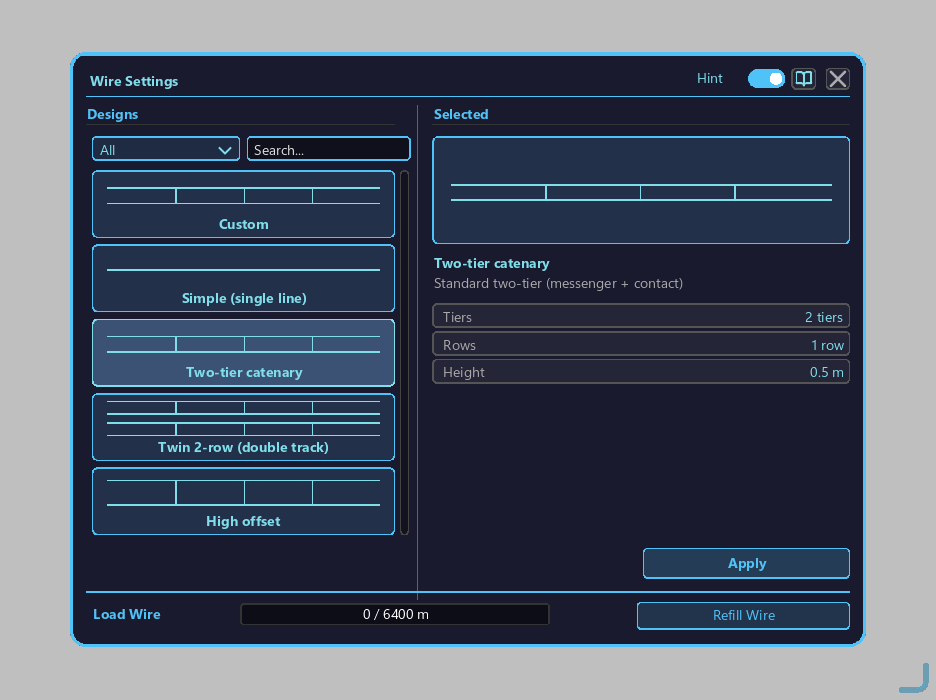
| Wire Connector Tool | Hold it and right-click | Lay wires / custom wire presets |
| Wire Pole Auto-Placement Tool | Hold it, configure with Alt/Ctrl/Shift+wheel, right-click to place | Automatically place wire poles in sequence |
Electrification system (blocks/devices)
| Device | Role |
|---|---|
| Pantograph / wire / substation / FE inverter | Supply FE / Create energy to trains via overhead wire (details: Electrification System) |
Online sharing (Preset Place)
| Screen | How to open | Role |
|---|---|---|
| Preset browse / detail / upload / profile / creator center | From the Train Preset Tool's menu | Online sharing of your own train presets |
Railway Management Block preview
Wire Connector Tool preview
Hints and F1
Turn ON the Hint toggle in the upper right of each GUI, and a brief description appears when you hover the mouse over a button / item. Press F1 in that state, and the wiki jumps directly to the description section for the feature you are currently hovering.
Usage flow
- Turn the
Hinttoggle ON. - Move the cursor onto the button / tab you want explained.
- Press F1.
- It automatically moves to the wiki heading corresponding to that feature.
An easy flow to learn first
- In Management Computer Overview, get a grasp of which tab handles what.
- When you want to watch train operation, read the Trains Tab and Schedule Tab.
- When you want to organize the line symbols shown at stations, read the Stations Tab and Line Symbols Tab.
- When you want to check the station-side display, read the Railway Management Block.
- When you want to build image displays, read the Poster Management Block.
- When you want to electrify trains, read the Electrification System.
Choosing an access mode
You can switch the mode with the face icon in the lower right of each GUI.
Difference between Private / Public
| Mode | Display | Setting changes | Use case |
|---|---|---|---|
| Public | Blue-framed face | Anyone can change | Cooperative operation / test world |
| Private | Red-framed face | Only the placer | Main line operation / multiplayer |
Creating and reading links with a memory card works regardless of mode, but toggle operations and color settings are treated as access-mode-gated.
GUI auto-sizing
All V3 GUIs are automatically scaled down to match Minecraft's GUI scale (1×/2×/3×/4×) and the screen size.
- The baseline is GUI scale 2× (= a 960×540 viewport at 1920×1080). All dialogs are designed to fit at this baseline.
- Auto-shrinks (5% margin) if a dialog overflows at 4× or in a small-screen mod environment
- Can be disabled per subclass with
autoScaleEnabled() = false
New wiki system features
The embed:item / embed:items / embed:screen / embed:model mechanisms used on this page:
| Syntax | Purpose |
|---|---|
embed:item id=<modid:itemid> size=N | ItemStack rendering, just like an inventory slot |
embed:model id=<itemid> size=N rotate=true | 3D display of a BlockItem (auto-rotation) |
embed:screen id=<screen-id> | Display a captured V3 screen (auto-switches to the current language) |
GUI captures are auto-generated on login, so you can see everything in the wiki without opening the screens. After a language change, run /tsu-wiki-prebuild to regenerate the captures for that language.